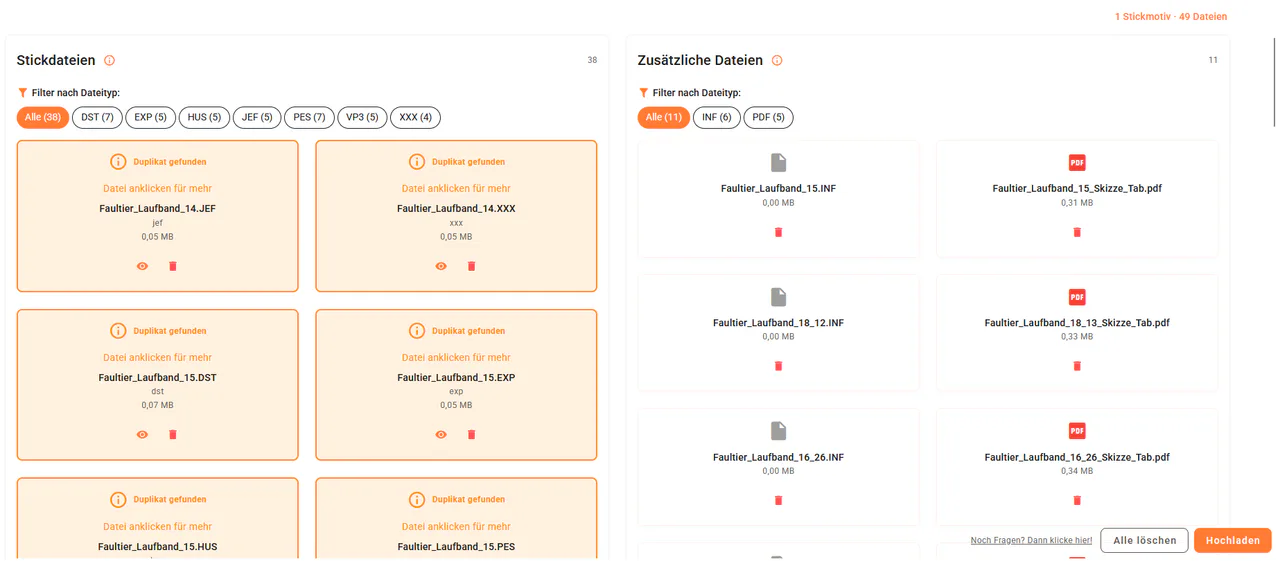
How to upload multiple embroidery designs to emborado
Use bulk upload in emborado, review automatically created file groups and assign related embroidery files to the correct design.
Bulk upload lets you add several embroidery designs to emborado in one workflow. It is particularly useful when a purchased set contains multiple designs or your files are already arranged in a separate subfolder for each design.
The important difference from uploading one design is that emborado creates several groups from the selected files. Each group represents one embroidery design and can contain multiple embroidery formats and additional files.
1. Select files for bulk upload
Open your design library and start an upload. Choose bulk upload when you want to create several independent designs at the same time.
You can select multiple files, a directory with subfolders or ZIP files. You do not have to extract a ZIP archive first. The guide to uploading ZIP files directly to emborado explains how one archive is processed.
If your browser offers drag and drop for uploads, you can also move the files into the upload area. This option may currently be disabled in Chrome for safety reasons. Use the file picker instead. The article about drag and drop being disabled in Chrome explains why.
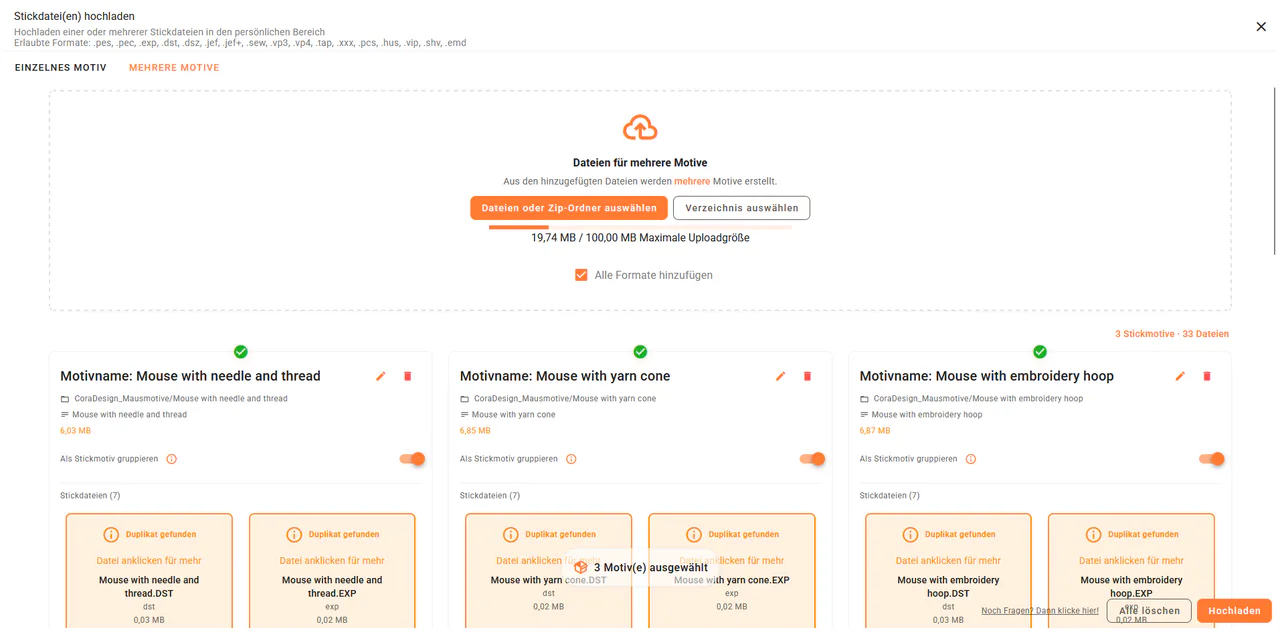
2. Review the groups created automatically
emborado evaluates file paths and subfolders and uses them to suggest groups. Before saving, check that each group contains exactly the files for one design.
A group can contain, for example:
- a PES file
- a DST file
- a preview image
- a PDF instruction file for that design
Different formats of the same design belong in one group. Independent designs remain in separate groups.
3. Move files to another group when needed
If a file has been placed in the wrong group, drag and drop it into the correct group. This lets you correct the suggested assignment before the designs are created.
Pay particular attention to additional files. A PDF instruction file or image should be stored with the design it actually belongs to.
4. Add names and descriptions
Give each group a clear design name. Add a description when it will help you find the design later. The name and description make the new designs easier to distinguish, even if the original filenames are not meaningful.
You can maintain further details on each design after upload. Shared tags or a shared designer can also be added later by bulk editing multiple embroidery designs.
5. Check the groups and complete the upload
Review whether each group represents one design and contains all related formats and additional files. Then complete the upload.
During upload, emborado also checks whether a selected file already exists in your library. The guide to detecting duplicate embroidery files during upload explains how to handle a match.
Practical example: three designs from one set
A set contains the subfolders Fox, Rabbit and Deer. Each subfolder contains a PES file, a DST file and a preview image.
Bulk upload should create one group each for the fox, rabbit and deer. Review the three groups, move any incorrectly assigned files and add clear names. emborado then creates three independent designs. If the set belongs together as a whole, you can also organize the designs in a collection for related embroidery designs afterwards.
For an overview of previews, search and other features, visit the product page about managing embroidery designs with emborado.