Starting a textile customization business: beginner mistakes in embroidery and what I learned from them
Guest post by Lara Uschakow: Which mistakes can happen when getting started with embroidery, why hooping, material choice and digitizing matter so much, and what lessons came out of the first tests.
In the first part of this blog series, I shared why I decided to get started with embroidery and why the Brother PR680W felt like the right next step for me.
In this second part, I want to talk about something that is often part of starting a business, but rarely looks as neat as it does on Instagram: the first mistakes.
Because no matter how well you prepare, embroidery is something you only truly understand once the machine is running, the fabric is hooped and you realize how many details have to work together at the same time.
Preparation helps, but it does not replace practice
Before I used my embroidery machine for the first time, I prepared very thoroughly. I read a lot, watched videos and tried to build a basic understanding of the machine, materials, hooping, thread tension and embroidery files before getting started.
Still, I had a lot of respect for the machine in the beginning. During the first test, I was worried about doing something wrong and maybe even damaging the machine, the hoop or the textile.
That is why I took my time with the first test. I wanted to understand what I was doing first. The first thing I checked was the thread tension. Luckily, it was set up well from the beginning, which gave me a bit more confidence for the first tests.
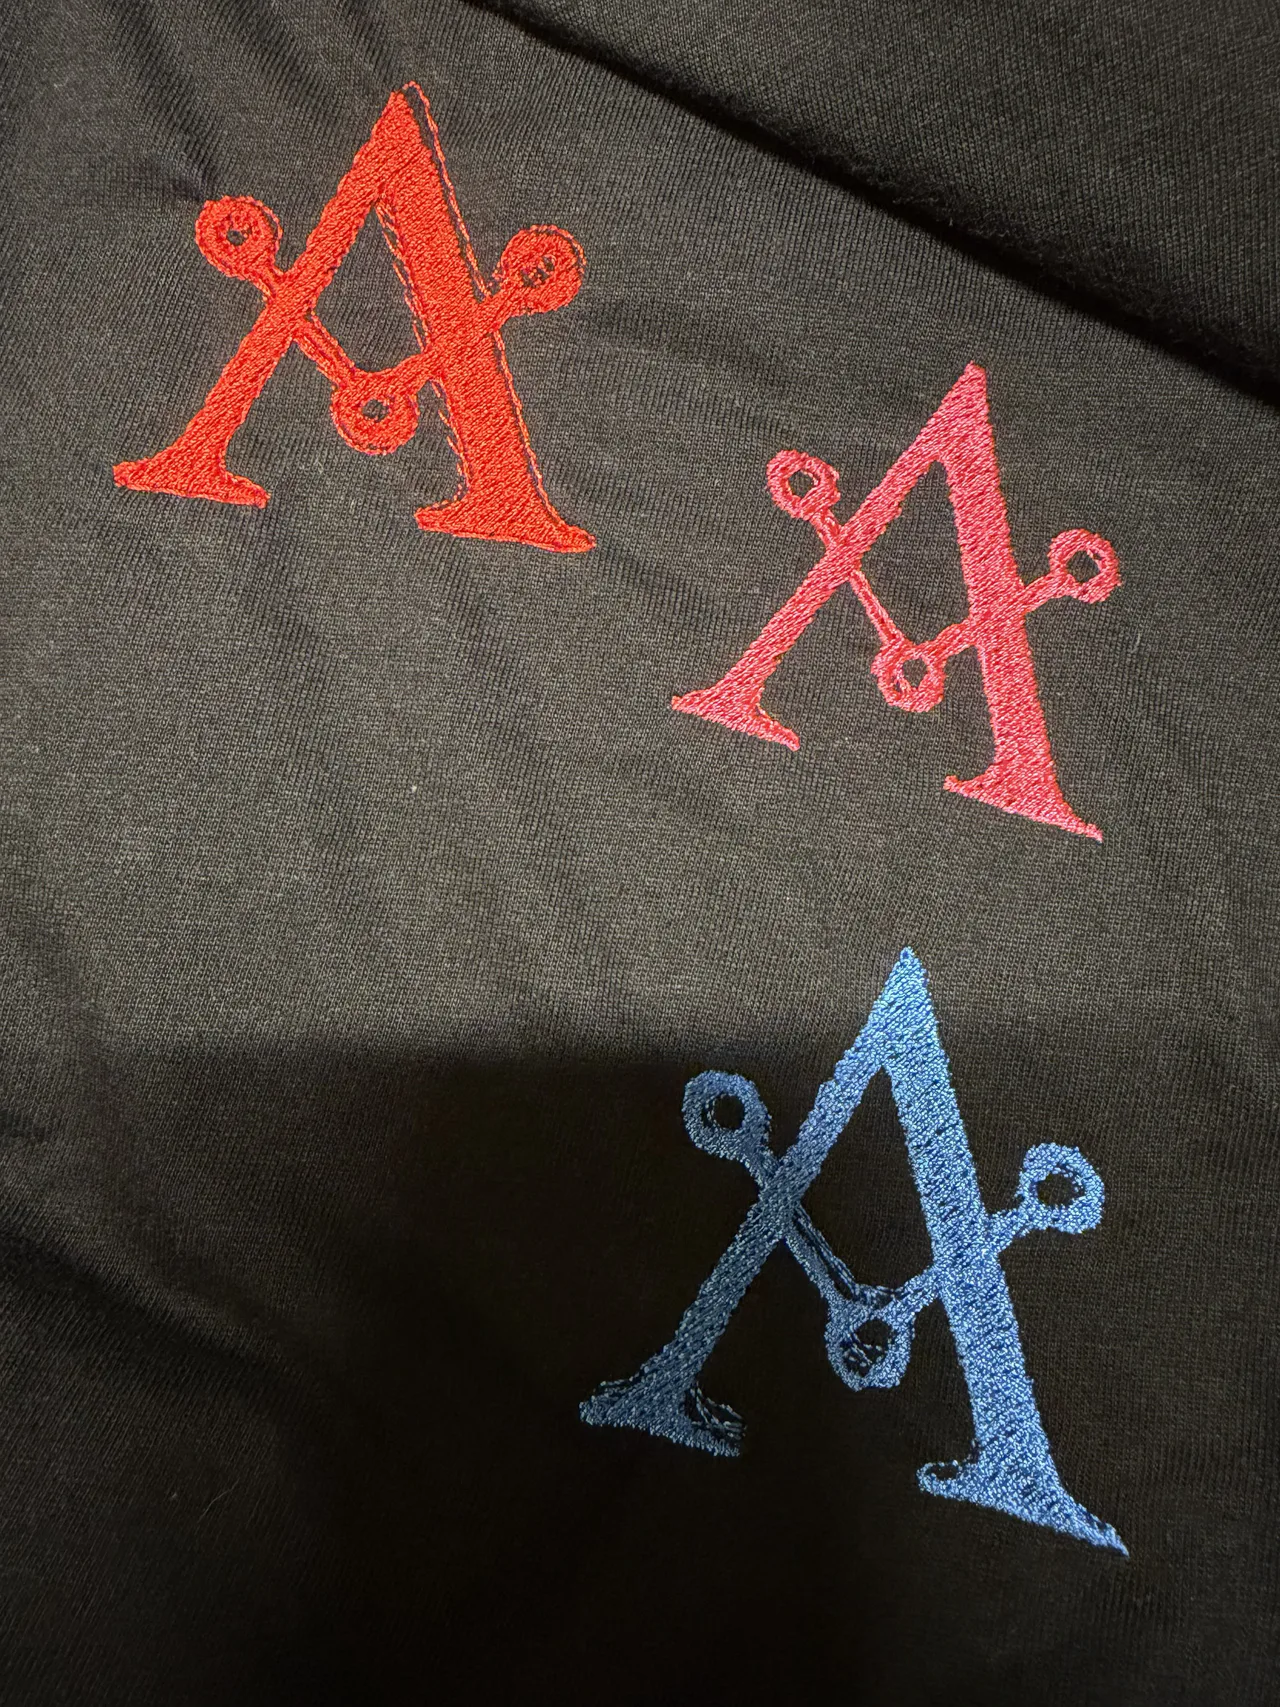
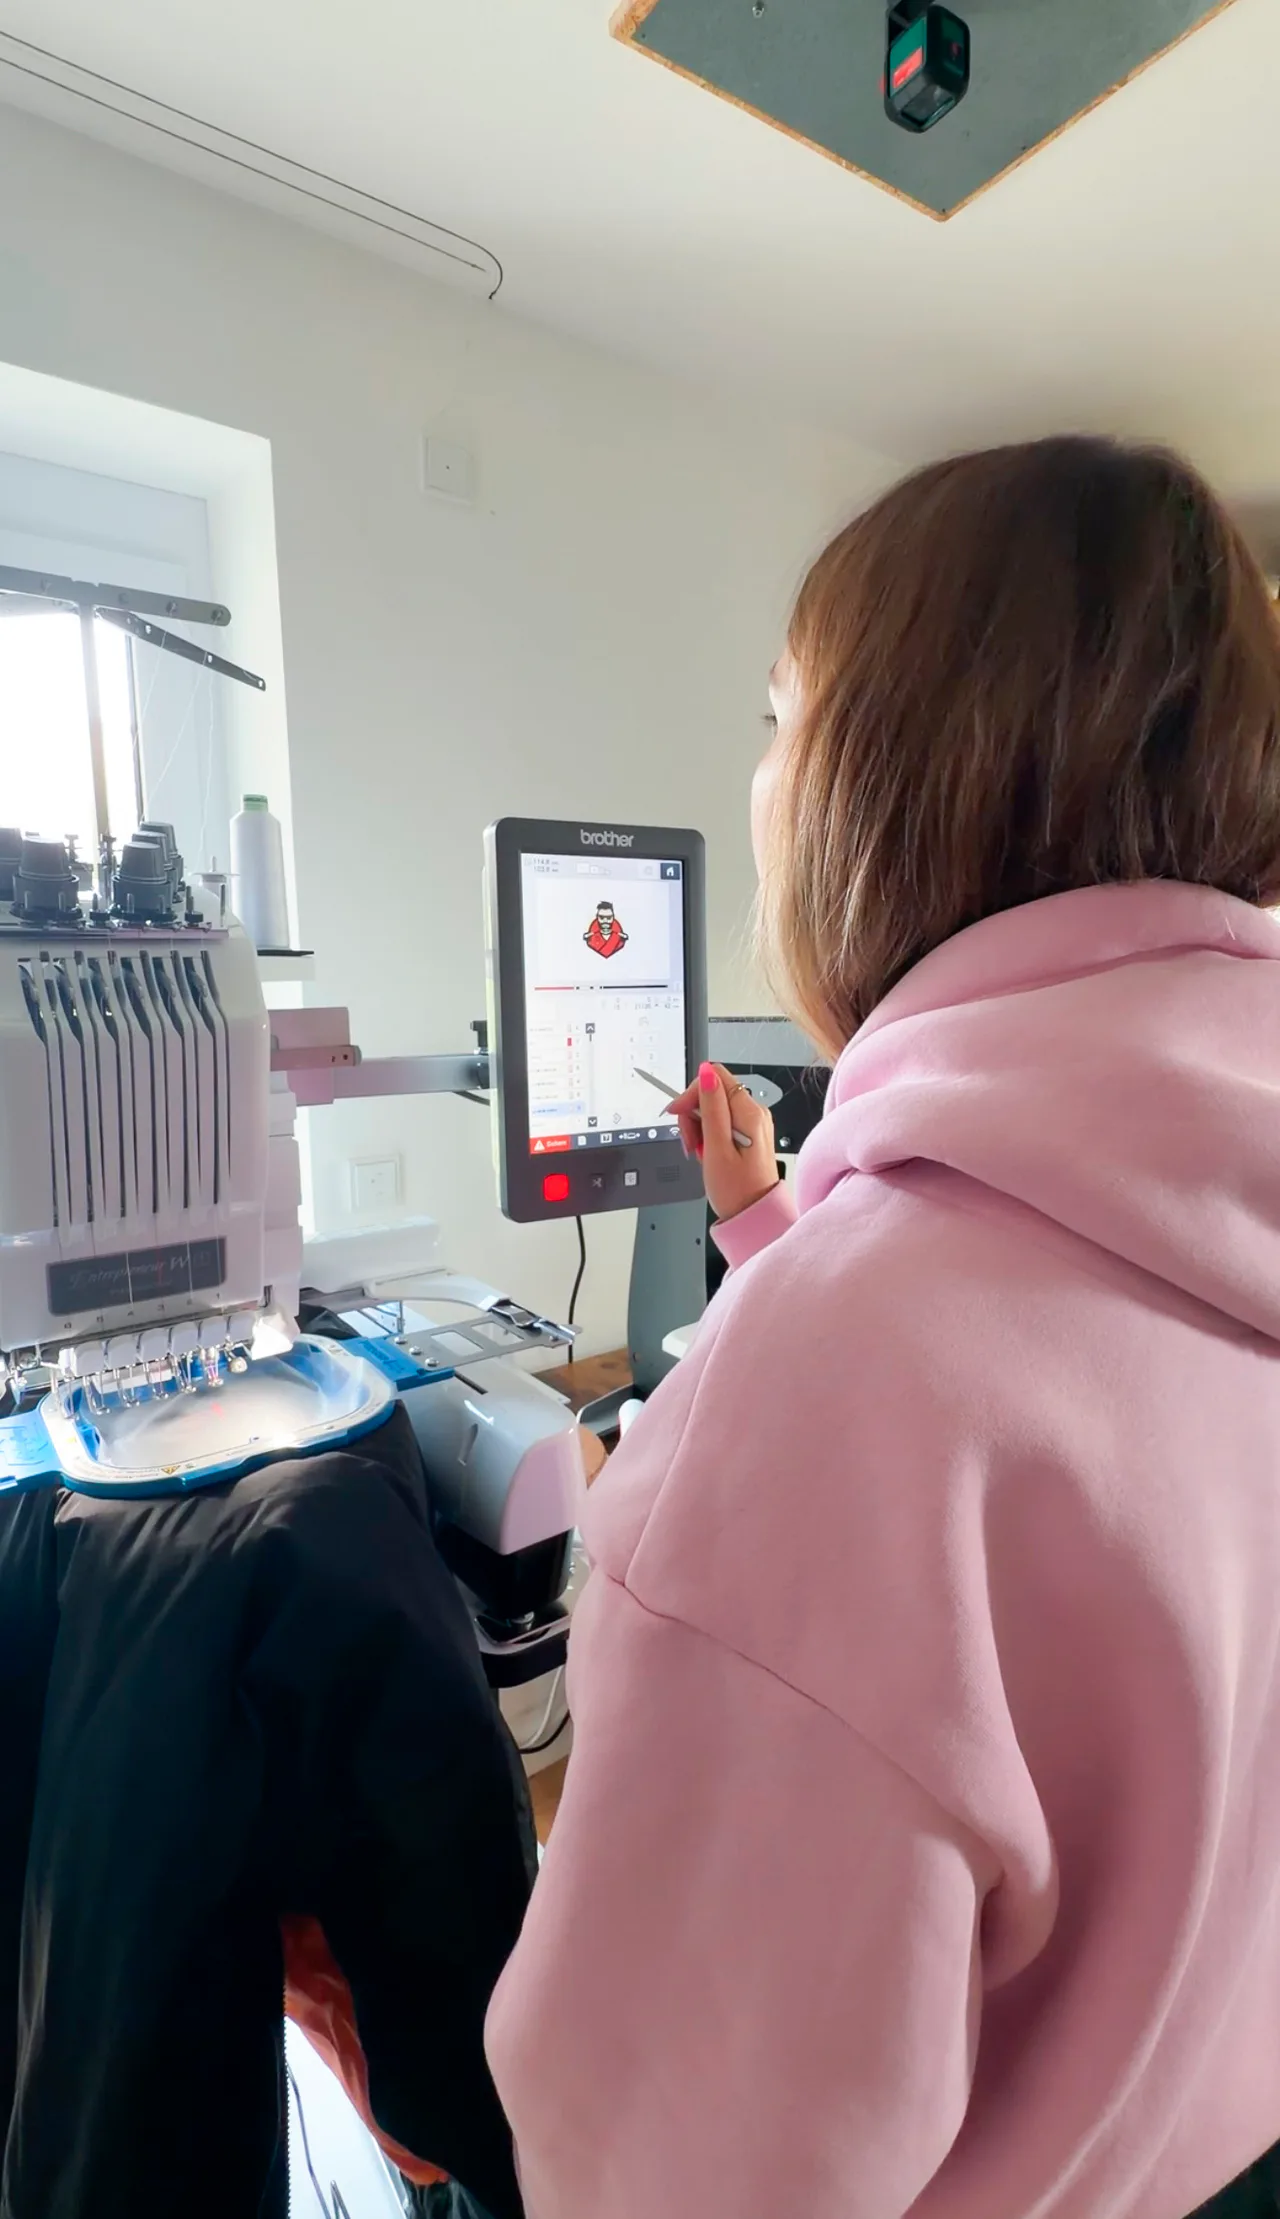
To get a feeling for the process, I first embroidered designs that were already saved as built in templates on the machine. That was a good starting point for me because I could focus on the machine, thread, hoop and operation without adding my own or an unfamiliar embroidery file as another possible source of error.
The first mistakes still came quickly
Even with preparation, the first mistakes did not take long to appear. Even threading the machine required me to watch several videos until I felt really confident.
What looks logical in an instruction manual suddenly feels very different when you are standing in front of the actual machine for the first time. Which thread path is correct? Is everything sitting properly? Did I miss a guide? Small things like these made me feel quite uncertain in the beginning.
One of the first bigger mistakes was incorrect hooping. One hoop even fell out while the machine was stitching because the textile had not been hooped securely enough. Of course, that was frustrating, but it was also very instructive.
It quickly became clear to me: hooping is not just a minor preparation step in embroidery. It is a skill of its own.
Hooping is more important than I thought at first
Hooping is not just about somehow getting the fabric into the hoop. The fabric needs to sit firmly, but it must not be distorted. Finding that balance is not easy in the beginning.
Crookedly hooped material was also an issue for me. If the fabric is not straight in the hoop, the design will also look crooked later, even if the machine itself works perfectly. In that case, the mistake does not happen during stitching. It happens before the stitching even starts.
That led to my first big lesson:
Good embroidery does not start with the start button. It starts with hooping.
Since then, I check much more consciously whether the fabric is really straight, whether it sits securely enough and whether any tension could occur during stitching.
Every fabric behaves differently
Another thing I learned very quickly: different fabrics behave completely differently. What works well on one material can suddenly cause problems on another.
Especially with very thin fabric, I noticed that designs can quickly become wavy if fabric, stabilizer, design and stitch density do not fit together well. In that case, the problem is not necessarily the machine. It is the interaction of all the different factors.
That is what makes getting started with embroidery so challenging. You are not just testing a file or a material. You are always testing a whole system made up of:
- Fabric
- Stabilizer
- Thread
- Needle
- Design size
- Stitch density
- Embroidery file
- Hooping
If just one part does not fit, the result can look different than expected.
Digitizing is a learning area of its own
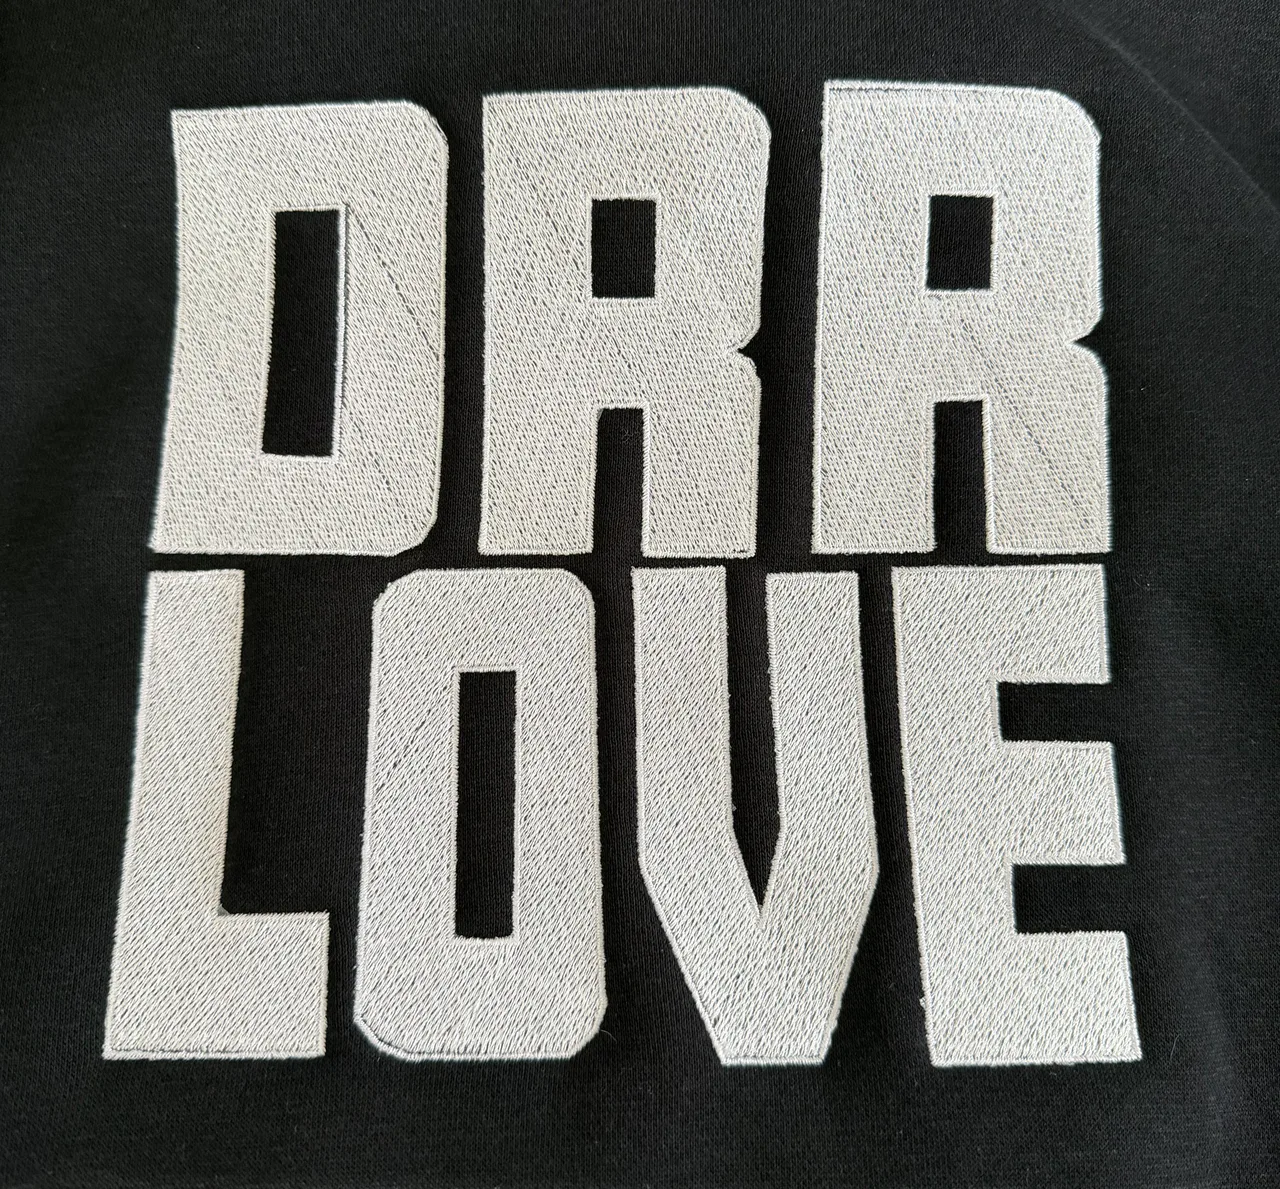
Because I digitize my embroidery files myself, this has been one of the biggest learning areas for me so far. It is not simply about converting a design into an embroidery file. You have to understand how thread, stitches and filled areas will later behave on fabric.
One of the biggest challenges for me was figuring out how to digitize filled areas so that they actually look the way I imagined them in the end.
Topics that I had previously only encountered in theory quickly became important:
- Stitch direction
- Fills
- Order of embroidery elements
- Shapes and outlines
- Push & pull
I often felt like I had slowly started to understand one problem, only for the next one to appear immediately. That showed me how many factors come together in embroidery.
A file can look good on screen, but still behave differently on fabric. Only during testing do you see whether an area sits cleanly, whether something distorts or whether the stitch order makes sense. In the end, that is also why many files look great in previews on Etsy or other platforms, but do not always produce the desired result in reality.
The hoodie with a hood led to a big lesson
One bigger mistake was a hoodie with a hood that I hooped incorrectly. As a result, the fabric was damaged and a needle broke.
That was one of those moments you do not forget quickly. At the same time, it was an important lesson: with thicker textiles and a lot of fabric, you need to check very carefully where the material is during stitching.
With hoodies, bags or other bulky textiles, it is not enough to only look at the embroidery area. You also need to check whether excess fabric or, as in this case, hoods could get in the way during the embroidery process.
A simple practical tip: secure excess fabric with clothespins so it cannot slide into the machine.
My lesson from this: the more complex the textile, the more important the preparation becomes.
Good results are created before the stitching starts
My biggest lesson so far is this: good embroidery does not only happen while the machine is running.
Of course, it is frustrating when something goes wrong. But every mistake also shows you what to pay attention to next time. With every test, you develop a better understanding of how good embroidery quality is really created.
In the beginning, it sometimes feels as if you fix one mistake and only then discover the next one. But that is part of the learning process.
Why organization is becoming more and more important
The more I test, digitize and optimize, the more important the organization of my embroidery files becomes.
Because one design can quickly turn into several versions.
Then there is all the information you will need again later:
- Which design size was used?
- Which thread colors worked well?
- Which stabilizer was used?
- Which fabric was tested?
- Were there any special notes about hooping?
- Which version worked best in the end?
This is exactly where emborado helps me in my daily work. Simply saving files somewhere is no longer enough at some point. For me, it is important to document information directly with the file in a way that is easy to trace later.
That is especially valuable when a design needs to be embroidered again later or when a customer places a repeat order. In that case, I do not want to start from scratch and figure out again which file, material and settings worked last time.
My conclusion after the first mistakes
The first embroidery mistakes were frustrating, but they were also important. They showed me that embroidery is much more than starting the machine and waiting for the design to finish.
It is about preparation, understanding materials, clean processes and the willingness to learn something from every test.
For founders in textile customization, I think this is an important point: mistakes cannot be avoided completely. But you can learn to understand them faster, document them better and work more consciously on the next order.
With every test, it becomes clearer to me what really matters. And that is exactly what makes getting started so exciting despite all the challenges.
In the next parts of this series, I want to keep showing how the first tests gradually turn into real workflows, which decisions become important in everyday work and how the first embroidery attempts can develop into a professional offer.
About Lara, laricari.studio and Textilstätte
Under the name laricari.studio, I document my journey into self employment and the process of building my textile and merch business. It is not only about textiles, but also about entrepreneurship, everyday life as a self employed person, decisions, lessons, failed attempts and the process of building something of my own step by step.
I offer my services through Textilstätte. Together with my partner, we create custom textile products using DTF printing, embroidery, sublimation and vinyl cutting. We also build fulfillment and shop systems for creators, brands and businesses that want a professional web presence with an online shop. From technical implementation to production, order processing and shipping, we support everything from one source.
Would you like to follow Lara’s journey?
- laricari.studio on Instagram, TikTok and YouTube
- Textilstätte on Instagram and at textilstaette.de
- Inquiries by email at anfragen@textilstaette.de or by phone at 0151 65915434