Advertisement | Partner article
How to Fuse Interfacing, Patches and Iron-On Transfers Correctly
Learn how heat, pressure and timing affect fusible interfacing, patches and iron-on transfers, plus when a precise timer can make the process easier.
The collar is neatly stitched, the bag is topstitched and the transfer sits exactly where you planned. Then one corner begins to lift after the first wash. In other cases, small bubbles appear before the project has even left the ironing board. Careful cutting is only part of the job. For a durable bond, time, heat and pressure must suit both the adhesive product and the fabric.
This guide explains how to make the fusing process more consistent. The Fixier app is offered by RoCas GbR. emborado edited this guest article but did not develop the app and is not its provider.
Why does fusible interfacing or an iron-on transfer come loose?
Heat activates the adhesive on a fusible product. Pressure brings that adhesive into even contact with the textile. If one part of the process falls short of the manufacturer’s requirements, the bond may form only in patches. Lifting edges, an uneven surface or sections that separate in the wash are common warning signs.
The surface underneath matters too. A bulky seam allowance, the raised edge of a patch or a padded section can prevent the soleplate from making even contact. Moisture, an unsuitable ironing surface and sliding the iron may also affect the outcome. When working with a new combination of materials, a test on a scrap is well worth the extra minute.
For more background on products used to support embroidery, see the emborado glossary entry on stabilizer. Our entry on patches explains how this familiar type of badge fits into machine embroidery.
How fusing time, heat and pressure work together
Heat activates the particular adhesive. Pressure creates close, even contact between the adhesive dots and the fabric. Time allows the required heat to reach and form the bond. Setting the iron to the right temperature is therefore important, but it does not complete the process on its own.
Always start with the product manufacturer’s instructions. Lightweight interfacing for a blouse may require a different method from a firm patch on a denim jacket or a transfer on a cotton tote. The base fabric must also tolerate the specified heat.
Important: A timer app does not replace the instructions supplied with the material. The required temperature, fusing time and pressure depend on the interfacing, adhesive, transfer product and textile. The app helps you keep to a time you have already selected from the relevant guidance.
Too short or too long: common timing mistakes
What happens when the fusing time is too short?
If heat is applied for too little time, the adhesive may not activate across the entire area. Fusible interfacing can lift around the edges. Parts of a transfer may bond less securely, making wrinkles or bubbles more likely to appear later. Estimating the time becomes especially unreliable when the iron is moved on before one section has received its full contact time.
What happens when the fusing time is too long?
Extra time is not a shortcut to a stronger bond. Prolonged heat can make delicate fabric shine, change colour or distort. Depending on the material, adhesive may seep through or change its properties. Repeatedly pressing the same area without checking the instructions adds further stress. A scrap test is the safest place to learn how a particular combination behaves.
Why a precise fusing timer can help
Many household irons and some fusing, sublimation or heat presses do not include a timer. You are left counting while also watching the position, maintaining pressure and preparing the next section. With a large piece of interfacing, the iron must be lifted and placed several times. An intended eight seconds can easily turn into five or twelve.
A second-by-second timer makes that step easier to repeat. First determine the correct duration from the manufacturer’s information. The timer then measures each application. If the iron or workpiece needs repositioning, pausing the countdown keeps setup time separate from actual contact time.
The Fixier app from RoCas GbR
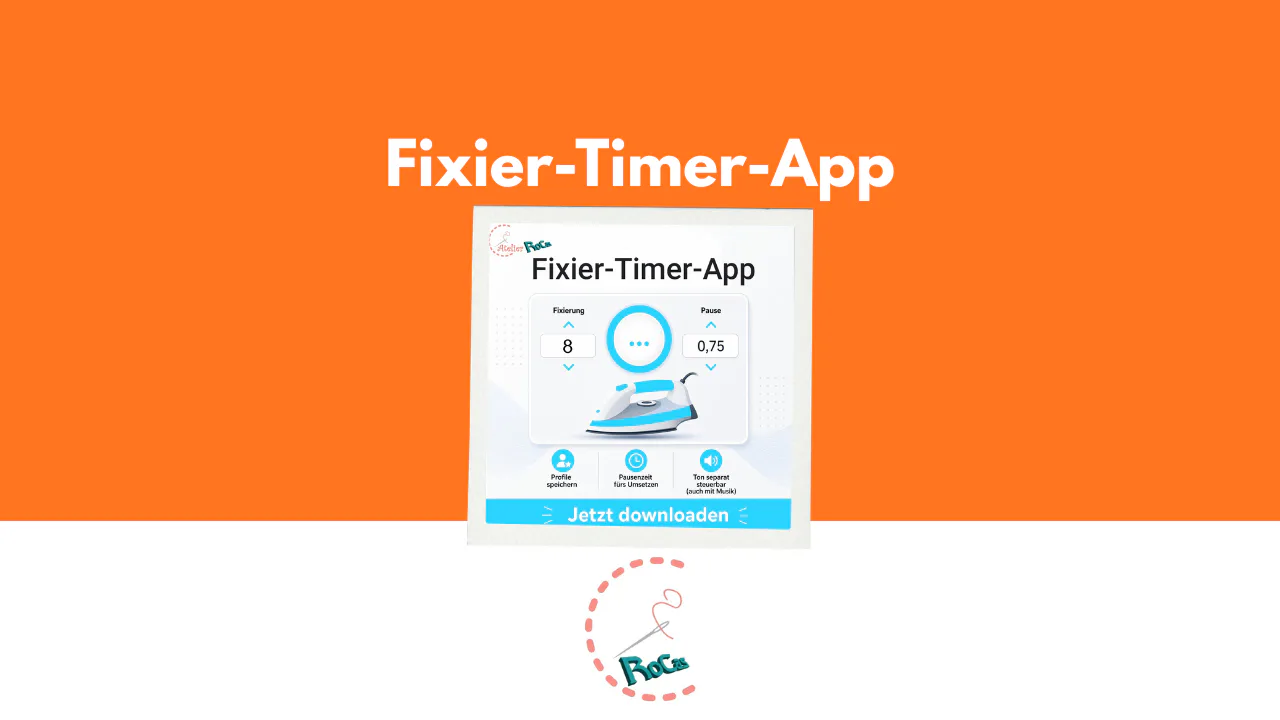
RoCas GbR offers this Android app for quick use at the sewing table. It keeps timing and recurring preferences in one place without telling you which temperature a material requires.
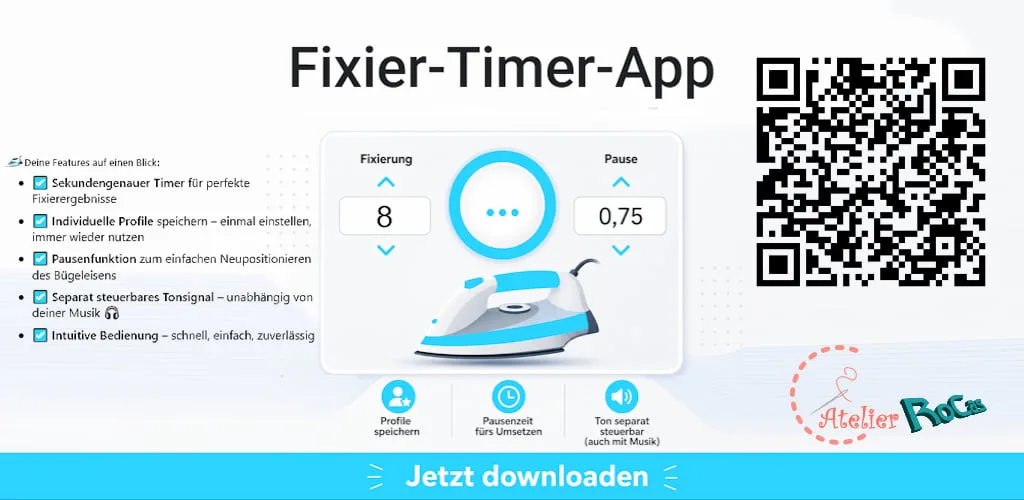
Main features
- timing accurate to the second
- saved individual profiles and preferred settings
- a pause function for repositioning the iron, for example
- a timer sound that can be controlled separately from other audio
- a simple interface intended for quick use during a craft project
The feature set remains focused on the workflow. The app does not identify materials, measure temperature or calculate the best fusing time. It does not contain a database of manufacturer instructions.
Which projects is the app useful for?
When sewing, a timer can help while fusing collars, cuffs, facings and bag panels. Embroidery projects may call for a suitable iron-on stabilizer to be applied according to its own instructions. Other examples include adding patches to jackets and bags, applying iron-on transfers to shirts, making patchwork or quilted pieces, and working with a fusing or sublimation press that has no built-in timer.
The app can therefore suit occasional crafters, frequent sewists, embroiderers, quilters and small creative businesses. People who return to the same materials can save preferred settings in profiles. Those values should still be checked against the packaging or technical sheet whenever the product changes.
Our tutorial for sewing upcycled bags from old jeans shows a practical project in which interfacing adds structure. You can also discover more work from Atelier RoCas in the emborado designer directory.
A practical fusing workflow
- Read the instructions. Check temperature, duration, pressure, steam guidance and cooling time for the fusible product, along with the care information for the textile.
- Test a scrap. Confirm that the fabric and adhesive tolerate the specified process.
- Prepare the piece. Position everything flat and accurately. Use the protective layer and pressing surface recommended by the manufacturer.
- Set the time. Enter the specified fusing time in the timer or choose an appropriate saved profile.
- Press rather than slide. Apply heat and pressure as instructed. Lift and place the iron carefully when covering adjoining sections.
- Pause when repositioning. Stop the timer while moving the iron or workpiece so it counts only the true fusing time.
- Cool and check. Leave the piece undisturbed for the stated period. Inspect the surface and edges before sewing further or washing the textile.
Requirements, cost and offline use
The Fixier app is a free, ad-supported Android app offered by RoCas GbR. It requires Android 10 or later. Once downloaded, it can be used offline. That is useful when the cutting table is out of Wi-Fi range or you simply prefer not to keep your phone online while sewing.
Conclusion
There is no single setting that makes every fusible product last. The right heat, sufficient and even pressure, the manufacturer’s specified time and proper cooling all contribute to a reliable process. A precise timer cannot choose those values for you. It can, however, keep an already selected duration from getting lost between the iron, the project and your next task.
View the Fixier app on Google PlayFrequently asked questions about fusing
How long should fusible interfacing be pressed?
There is no universal number of seconds. Follow the processing instructions from the manufacturer of the specific interfacing. The fabric, adhesive, heat and pressure all affect the process. Once you know the required duration, a timer can help you apply it consistently.
Why does fusible interfacing come loose after washing?
Possible causes include too little fusing time, insufficient or uneven pressure, unsuitable heat, or an incompatible combination of products. Ignoring the required cooling or waiting period may also contribute. Check the manufacturer’s instructions first and test the process on a scrap.
Can the Fixier app be used without internet access?
Yes. The Fixier app works offline after it has been downloaded.
Which Android version does the app require?
The app requires Android 10 or later.